Gel nails are a combination of ordinary nail polishes and gel, fixed in UV light. They give a natural and long-lasting effect, protect the nails and are easy to apply. The best thing is that you can do such a manicure yourself at home. How? Let’s check it out.
Why is gel manicure so popular?
First, durability. The maximum durability of ordinary nail polish is a few days, while gel polish – about three weeks. It’s a huge difference, right? What’s more, the gel polish is resistant to splitting due to curing under the UV lamp. The product does not dry out in the bottle, so it lasts for a very long time. It also does not lose its natural colour and retains the right formula for a very long time.
Second, convenience. The gel polish dries only under the influence of light from the lamp and that is why it is easy to make corrections during the application. Traditional nail polish dries quickly on the nail plate and stains skin, and we have to keep an eye on whether the layer is not too thick or thin.
Third, hardness. Gel nail polish hardens the nail plate, which is important if you have weak, thin, split or brittle nails. If a gel manicure is cured under a lamp, you will not have to worry about the time it takes to dry as well as scratches or other damage.
Fourth, naturalness. Gel manicure looks like it was made with ordinary polish. In contrast to manicure made with acrylic powder or hard gel (not soaked-off), it does not thicken the nail plate so much. The end result is natural and has nothing to do with artificial nails.
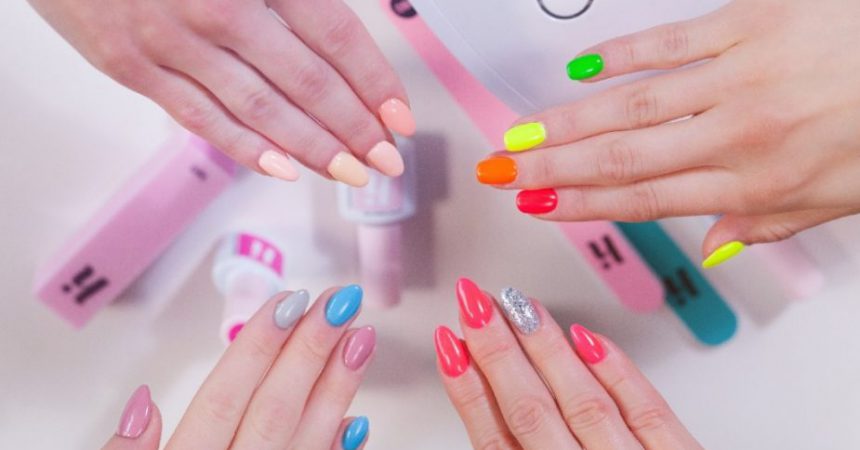
Fifth, lots of colours, textures, patterns, decorations, ornaments, and finishes. Colour palettes as well as textures and finishes, which are provided by gel polishes, are really impressive. We can choose from pastels, neon and classic shades, with matte or gloss finish, as well as glitter, metallic and sand effects.
Get ready for a gel manicure
You need to spend more time applying a gel manicure than painting your nails with ordinary polish. You also need to prepare some accessories, such as:
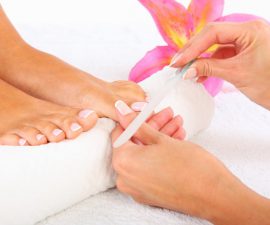
- a buffer – the matte and smooth the surface of the nail, thanks to which the application of the polish will be very easy and the durability of the manicure will be prolonged,
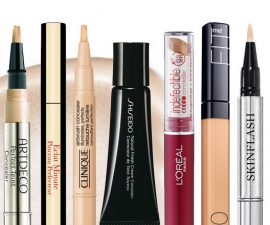
- a remover – removes all impurities from the nails,
- a base – strengthens and nourishes the nail plate,
- wooden sticks – thanks to it you can push the cuticle back,
- non-dusting pads- wash off the polish that you have stained the skin around the nail,
- gel base and top coat,
- cuticle oil – you will use it to finish the manicure,
- UV lamp – cures the base and polishes,
- top coat – fixes the effect of a gel manicure.
How to apply a gel manicure?
The first step is to buff and degrease the nail. Once they are shaped, smoothed and mattified, apply a thin layer of a basecoat; be careful not to stain the cuticles. Cure the layer under the UV lamp according to the instructions. Then apply a thin layer of gel polish and again cure it under the device. If the depth of colour does not suit you, then you can add another layer. When the last layer of the gel nail polish is cured, apply the topcoat. At the end, cleanse your nails with the remover and cover with olive care.
UV lamp for the gel manicure
When selecting the lamp, it is worth paying attention to several functions. Check if the UV lamp has a timer, drying speed and motion sensor. You can choose the so-called UV light (ultraviolet light) lamp or a LED lamp. The first one is cheaper and the lifetime of each bulbs is about 500 hours of work. Such a lamp should have a power of about 36 W, which extends the exposure time to two minutes. The second lamp, LED, is expensive, but does not require replacement of bulbs. It is energy-saving, it is characterized by shorter curing time and less power consumption.
Leave a Reply